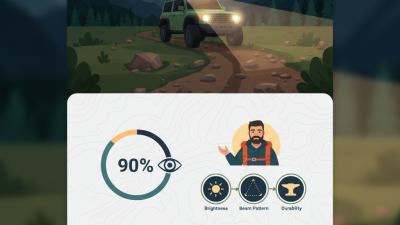
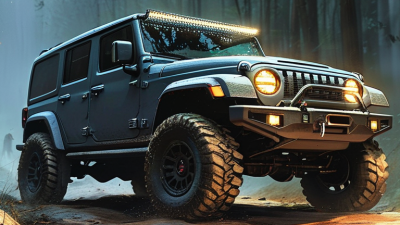
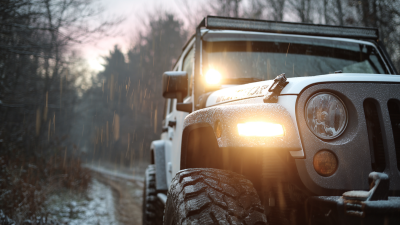
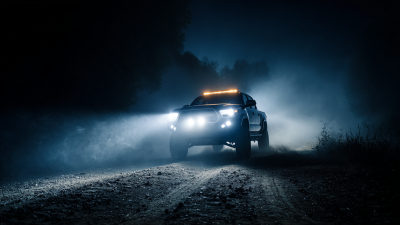
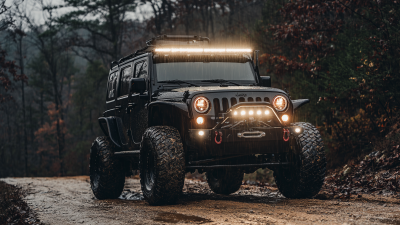
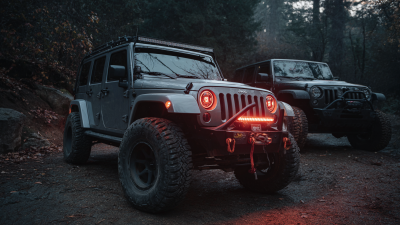
What Are the Best Types of Off Road Lights?
Choosing Off Road Lights starts with understanding where and how you drive. The best type depends on terrain, speed, mounting position, and the view your headlights leave uncovered. A spot beam sends a narrow, longer-reaching column of light toward distant trail features. A flood beam spreads illumination across nearby ground, useful for slow turns and campsite tasks. Combo lights blend both patterns. Light bars can provide broad coverage, while compact pods fit tighter mounting spaces. Small distinctions matter. Not every trail needs maximum brightness. That matters.
A practical choice balances beam shape, durability, power draw, and installation—not just advertised output. Dust, rain, vibration, and the shadow cast by a bumper can change how a lamp performs in real use. Color temperature and lens design also affect how clearly you notice rocks, ruts, or branches. More light is not always better. Poorly aimed lamps can create glare or harsh reflections. This guide compares common Off Road Lights, explains their strengths and limitations, and offers straightforward ways to match a setup to your vehicle and typical routes. Check product specifications and mounting guidance before buying. One caveat: descriptions and ratings do not perfectly predict performance on every trail. Your own conditions deserve a second look.
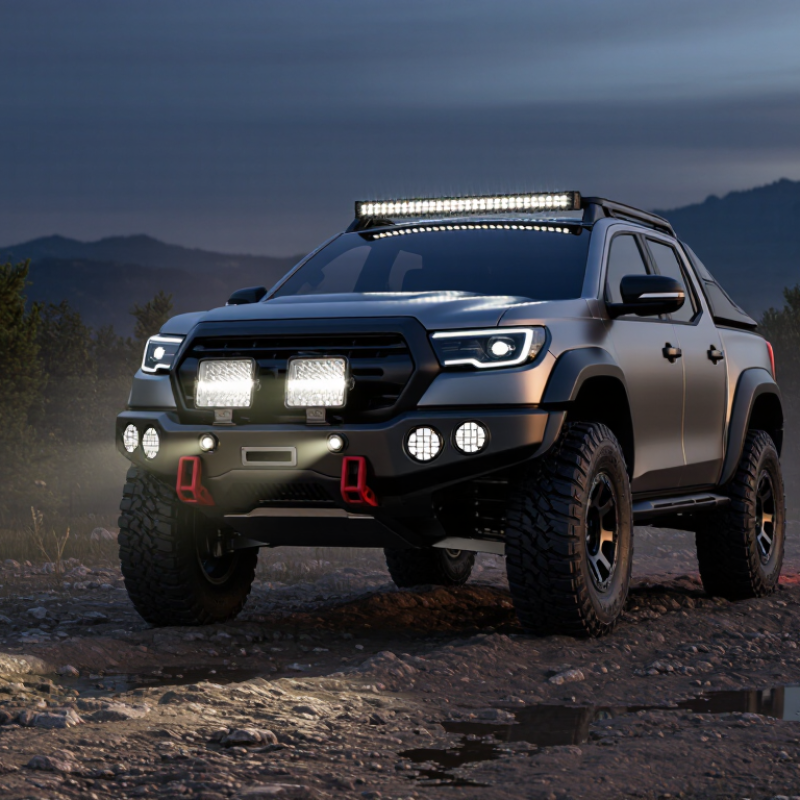
How Off-Road Lights Differ from Standard Vehicle Lighting
Standard vehicle headlights are designed to illuminate the road ahead while limiting glare for other drivers. Their beam pattern balances near-field visibility with distance, and their position is chosen for regular road use. Off-road lights serve a different purpose: they can add illumination beyond the factory beam, especially on unlit trails, work sites, or open terrain.
The beam shape matters more than a dramatic brightness claim. A narrow spot beam reaches farther down a straight track, while a wide flood beam reveals nearby rocks, branches, and trail edges. Some setups combine both. That can help. It can also create dark gaps if the lights are poorly aimed or placed. On a dusty trail, a powerful beam aimed too close may reflect light back into the driver’s eyes.
Auxiliary lights may also use different housings, mounts, and wiring than standard headlights. Look for secure mounting, weather-resistant construction, and wiring suited to the vehicle’s electrical system. Installation details matter; a loose bracket can shake the beam across uneven ground. More light is not always better. Choose a pattern for the terrain, aim it carefully, and switch off auxiliary lighting when it could dazzle other road users or conflict with local requirements.
Main Types of Off-Road Lights and Their Beam Patterns
Off-road lights are most useful when their beam matches the terrain. Spot beams concentrate light into a narrow, long-reaching pattern. They can reveal a distant bend or obstacle on an open trail, but leave the ground beside the vehicle darker. Flood beams spread light broadly across nearby ground. That wide pool helps when crawling over rocks, backing up, or working around camp. It does not reach as far.
Some lights use a combo beam, mixing a focused center with wider side illumination. This can be practical on varied trails, though the result depends on lens design and mounting position. Driving beams sit between spot and flood patterns, offering a longer view with more width than a tight spot beam. No pattern solves every situation. Dust can reflect light back toward the driver, and a poorly aimed lamp may create glare rather than useful visibility. I have found that a bright patch is not always a clear view.
Think about where the light lands, not just how bright it looks on a driveway. A low-mounted flood may illuminate ruts close to the tires, while a higher spot can help identify distant terrain. Use a safe, stationary check to adjust aim, then reassess on a familiar trail. Small changes matter. The best setup often combines patterns, but extra lamps can add clutter and unwanted glare. That trade-off deserves a second look.
How Terrain and Driving Conditions Shape Light Choice
On narrow forest trails, nearby detail matters more than distance. A wide flood beam reveals roots, branches, and shallow ruts before they reach the bumper. It also spreads useful light across the trail edges, where animals or loose rocks may appear. For open desert tracks, a focused spot beam can show distant dips and bends. Its narrow reach is less helpful in tight turns.
Rocky climbs call for balanced coverage. Light aimed low can expose tire placement, while a broader beam helps a driver judge the surrounding slope. Dust changes the equation. Amber-tinted lenses may reduce some reflected glare, but they cannot make thick dust disappear. Rain and wet ground can bounce light back toward the driver, so avoid aiming lamps directly at shiny surfaces. Aim matters, too.
A mixed beam can serve varied routes, but its placement should match the vehicle and driving speed. Higher mounting may extend reach, while lower lights can reveal close obstacles; either can create glare if aimed poorly. More output is not always better. Excess brightness can wash out nearby detail and tire out the driver’s eyes. It is easy to overestimate how much light a trail needs. Test the setup at low speed on familiar ground, then adjust the angle before tackling rougher terrain.
Comparing Light Output, Durability, and Power Requirements
Off-road lights work best when their beam suits the terrain, not just when they look bright on a product label. Flood beams spread light across nearby trail edges, useful on tight, slow routes. Spot beams throw light farther down open tracks, but can leave close obstacles in shadow. A combo beam balances both. Compare measured output and beam pattern, since a high lumen figure alone does not show where the light lands. Brightness matters.
Tips: Aim lights at a wall before driving. Check for glare, dark gaps, and a beam that shines too high. Recheck after tightening the mounts.
Durability matters when lights face gravel, water, dust, and constant vibration. Look for a sealed housing, sturdy brackets, and clear information about water and dust resistance. A tough casing can still fail if its mount loosens. Power requirements deserve equal attention: check the light’s current draw, your vehicle’s electrical capacity, and the wiring instructions. Use correctly rated wiring and a fuse. More output can mean more load, and an oversized setup may not suit every vehicle. It is easy to focus on brightness and miss the less exciting details; that trade-off deserves a second look.
What Are the Best Types of Off-Road Lights?
Comparing typical light output, durability, and power requirements
| Light type |
Typical power per fixture |
Durability considerations |
| Halogen driving light |
About 55 W |
Glass bulbs can be vulnerable to shock; housing and lens protection vary. |
| LED flood pod |
About 20–30 W |
A sealed housing and a stated IP rating help indicate resistance to dust and water. |
| LED spot pod |
About 30–40 W |
Check mounting strength, sealing, and vibration-resistance details. |
| LED combo pod |
About 40–60 W |
Durability depends on the housing, lens, seals, and mounting hardware. |
| LED light bar |
About 100–120 W |
Long housings need secure mounting; check sealing and vibration protection. |
Chart values are representative lumen figures for a single fixture, not standardized test results. Actual output, beam pattern, power draw, and durability vary by design. Check measured specifications and the stated IP rating, and ensure the vehicle’s wiring and electrical system can handle the total load.
How to Match Off-Road Lights to a Vehicle and Use Case
Match the beam to the terrain, not just the advertised brightness. A narrow spot beam reaches farther along open tracks, while a flood beam lights nearby rocks, wheel paths, and trail edges. Beam shape matters. Combination beams can suit mixed terrain, but may leave gaps if mounted too high or aimed poorly.
Start with the vehicle’s use and mounting points. A roof-mounted light can illuminate farther ahead, yet its glare may reflect from dust, rain, or a hood. Bumper-mounted lights often give a more useful view of close obstacles. Check the lamp’s vibration resistance, weather protection, and electrical load against the vehicle’s setup. Not more lumens. Better placement.
Use recognized test standards as a quality reference: SAE J575 covers environmental testing for vehicle lighting devices, while SAE J581 addresses auxiliary upper-beam lamps. These standards do not guarantee a perfect trail pattern, so inspect the actual beam before relying on it. IIHS’s 2016 headlight analysis found vehicles with highly rated headlights had 19% fewer nighttime single-vehicle crashes than those with poorly rated headlights; that road-focused finding is not an off-road performance measure, but it underscores the value of controlled illumination. Test, then adjust. Even a capable setup can disappoint when it creates glare or hides the near ground.