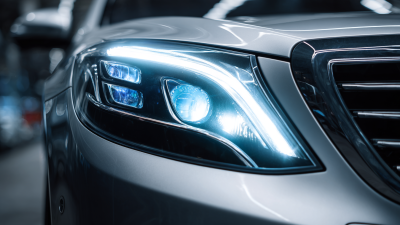
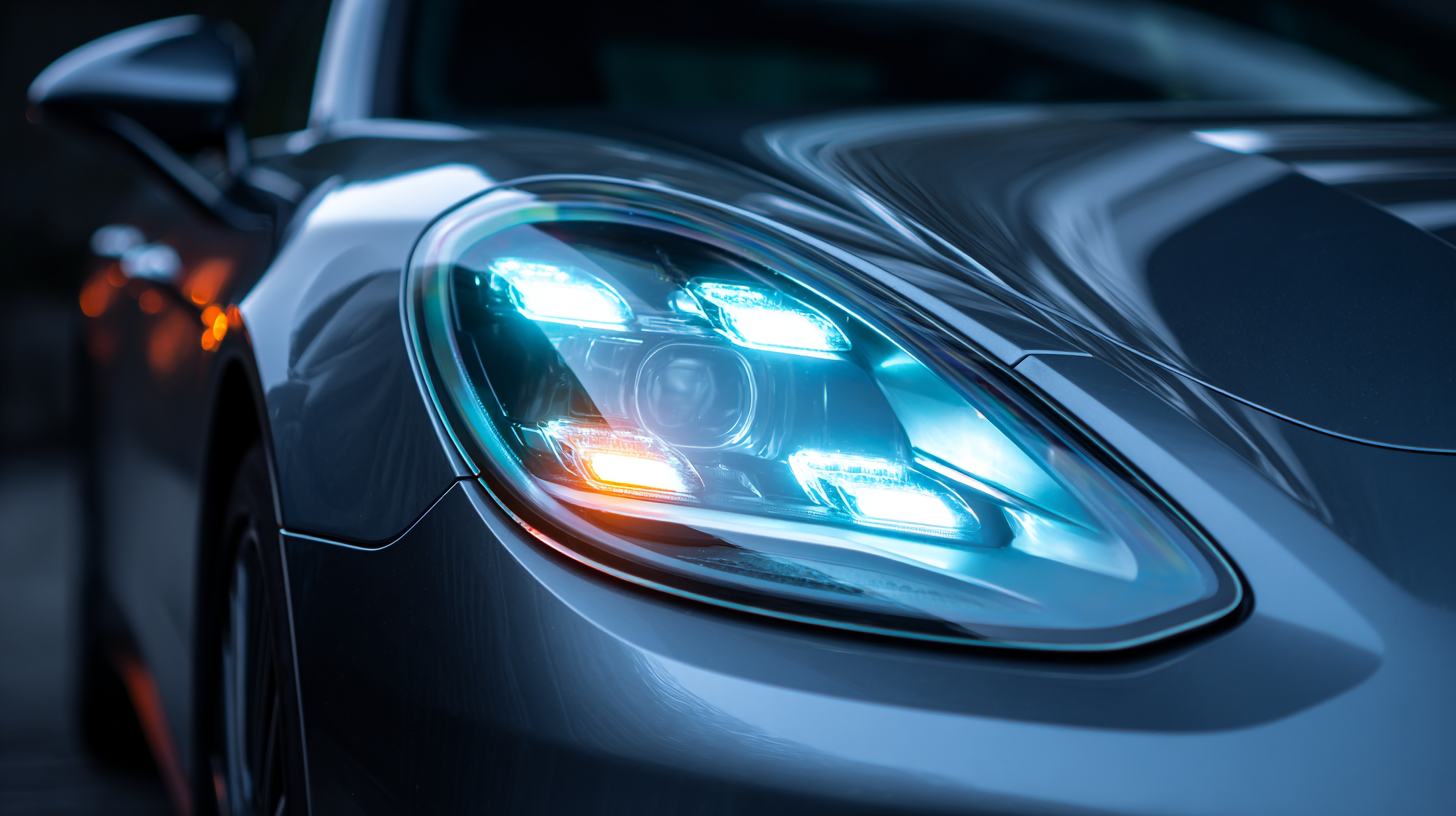
 As the automotive industry continues to evolve, the integration of advanced lighting technologies has become paramount for enhancing safety and visibility on the road. Among these innovations, LED lights headlights have emerged as a prevailing choice for many vehicle owners. According to a report by Allied Market Research, the global automotive LED lighting market is projected to reach $28.63 billion by 2026, driven by the increasing demand for energy-efficient and durable lighting solutions. Notably, LED lights headlights can last up to 25,000 hours, providing not only improved longevity but also superior brightness and clarity compared to traditional halogen bulbs. This comprehensive guide will outline the essential steps for installing LED lights headlights in your vehicle, ensuring you stay ahead in both safety and technological advancement on the road.
Upgrading to LED headlights for your vehicle offers numerous advantages that extend beyond mere aesthetics. According to a study conducted by the National Highway Traffic Safety Administration (NHTSA), vehicles equipped with LED headlights can provide up to 200% more light on the road compared to traditional halogen bulbs. This significant increase in visibility enhances driving safety, particularly during night-time and adverse weather conditions, reducing the likelihood of accidents caused by poor lighting.
Moreover, LED headlights are designed to last significantly longer than conventional options. The Department of Energy reports that LED lights have a lifespan of about 25,000 hours, compared to approximately 1,000 hours for halogen bulbs. This longevity translates to less frequent replacements, ultimately saving vehicles owners time and money in maintenance costs.
**Tip**: When installing LED headlights, ensure that they are compatible with your vehicle's wiring and reflector design to avoid any potential issues with glare or beam pattern. Also, consider choosing LED headlights that are adjustable, allowing you toFine-tune them for optimal road illumination.
**Tip**: Always check for certification labels such as DOT (Department of Transportation) and SAE (Society of Automotive Engineers) on LED headlights to guarantee their performance and compliance with road safety standards.
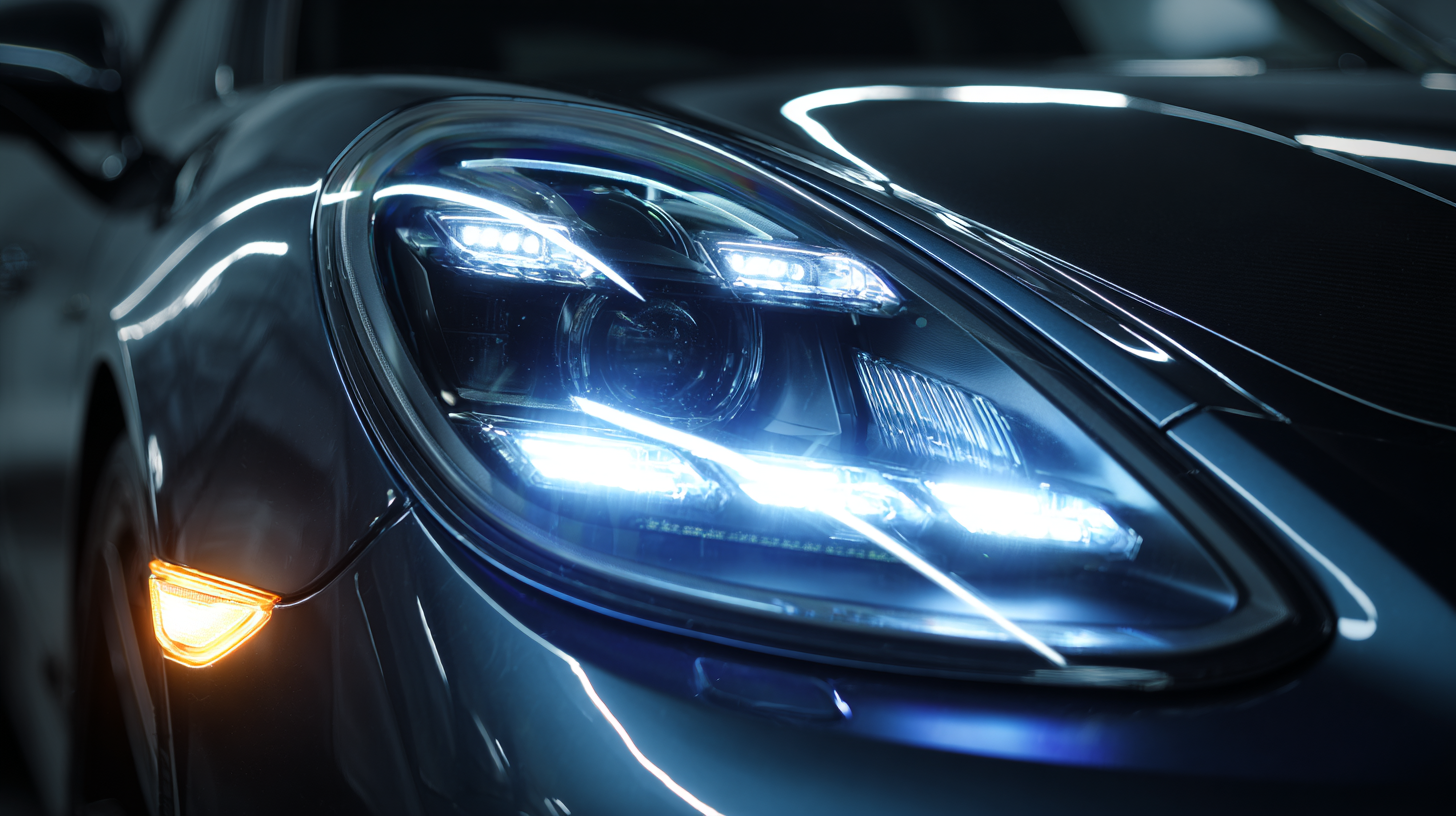
When embarking on the journey of installing LED headlights in your vehicle, having the right tools and materials is crucial for a smooth and successful process. Firstly, you should gather basic tools such as a socket set, screwdrivers, and pliers. These tools will help you remove the old headlights and secure the new LED units in place. Additionally, a wire stripper and crimping tool may be necessary for connecting wires if the LED kit requires custom installations.
Beyond basic tools, investing in high-quality LED headlight kits is essential. Look for kits that include all necessary components, such as bulbs, ballasts, and connectors. Don't forget about the importance of a reliable vehicle manual, which can provide specific guidance on accessing your headlight assembly. Having electrical tape and heat shrink tubing on hand is also beneficial for securing any connections and preventing moisture from interfering with the installation. By ensuring you have all necessary tools and materials ready before starting, you’ll enhance your chances of achieving optimal performance and longevity from your new LED headlights.
| Tool/Material | Description | Usage |
|---|---|---|
| LED Headlight Bulbs | High-efficiency LED bulbs for brighter, longer-lasting headlights. | Replacement for regular halogen bulbs. |
| Screwdriver Set | A set of various screwdrivers to match different screws. | To remove and install headlight assembly components. |
| Wrench Set | A variety of wrenches for different sizes of nuts and bolts. | For loosening and tightening bolts in headlight assembly. |
| Electrical Tape | Insulating tape for electrical connections. | To secure and protect wiring connections. |
| Wire Cutters | Tool for cutting electrical wires. | To trim wires to the correct length for installation. |
| Multimeter | Device for measuring voltage, current, and resistance. | To troubleshoot and test electrical systems. |
When it comes to upgrading your vehicle's lighting, removing old headlights safely is the crucial first step. Before starting, ensure your car is turned off and parked on a flat surface. Always wear safety gloves and goggles to protect yourself from potential glass shards or debris. It's wise to have a bucket or box nearby to store any screws or clips you remove to avoid losing them.
As you begin, carefully check for the access points of your headlights. Some vehicles may require you to remove additional components, such as the front grill or bumper, to reach the headlights. Be patient and meticulous in this process to prevent any damage to your vehicle. Once you have clear access, gently unplug the wiring harness and remove the screws or clips securing the headlight assembly.
Tips: Take pictures of the original setup before disassembly. This will serve as a helpful reference when installing your new LED lights. Also, check your vehicle’s manual for specific instructions related to your make and model, as these can vary significantly. Finally, consider labeling the parts as you remove them; this will streamline the reinstallation process and ensure a smooth transition to your new LED headlights.
Installing LED headlights in your vehicle can significantly enhance your driving experience by improving visibility and energy efficiency. To ensure optimal performance, it’s crucial to follow the proper installation steps. Begin by carefully selecting the right LED headlight bulbs for your specific vehicle model. Refer to the owner’s manual or consult an automotive specialist to find compatible options.
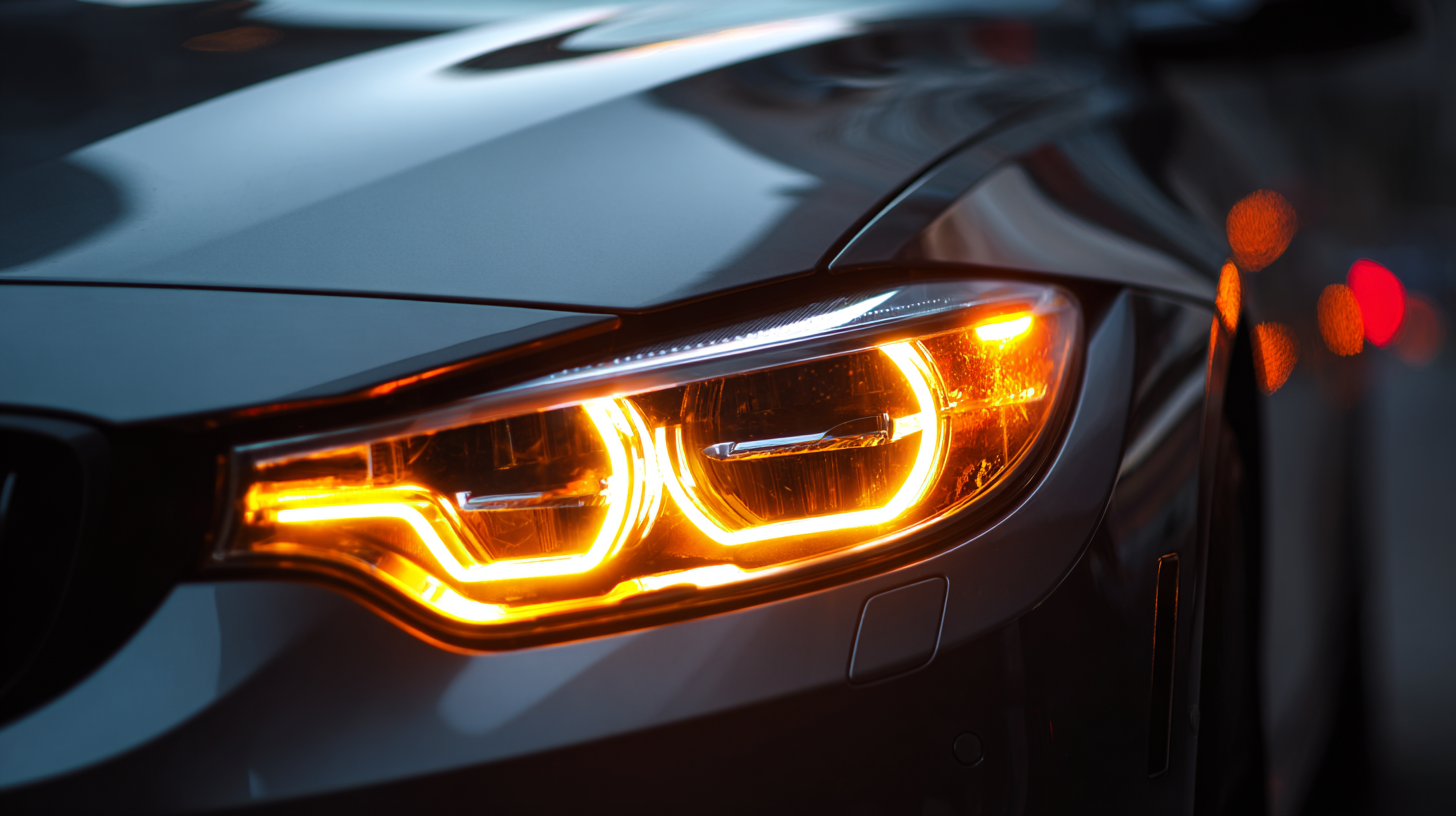
Tips: Always work in a well-lit area and utilize gloves to prevent oil from your hands transferring to the bulb, which can cause it to burn out faster. Before starting the installation, make sure to disconnect the battery to avoid any electrical mishaps.
Once you have the right bulbs, begin the installation process. Remove the old halogen bulbs by turning them counter-clockwise and disconnecting the wiring harness. Align the new LED bulbs correctly, and insert them into the housing by turning them clockwise until they’re secured. Reconnect the wiring harness and reconnect the battery.
Tips: After installation, it's important to test the headlights for proper functionality. Take your vehicle for a short drive at night to evaluate the light output and alignment. If needed, adjust the headlight level to avoid blinding oncoming drivers while maximizing your visibility.
When installing LED headlights for your vehicle, you might encounter several common challenges that can complicate the process. One frequent issue is compatibility; not all vehicles are designed to easily accommodate LED bulbs. It's essential to check the specific socket type and ensure that the LED headlights you purchase match your vehicle’s requirements. If they don’t fit properly, you may need to invest in adapter rings or conversion kits, which can add to your installation time and expense.
Another challenge is dealing with the vehicle’s electrical system. Improper installation can lead to flickering lights or error messages on your dashboard. To avoid these problems, it’s advisable to invest in high-quality LED kits that include built-in resistors or canbus technology, as these can help eliminate warning signals and ensure stable operation. Additionally, pay attention to the installation instructions provided by the manufacturer, as following these can significantly reduce the chances of encountering electrical issues.
