Leave Your Message

7 Tips for Choosing Amber Driving Lights

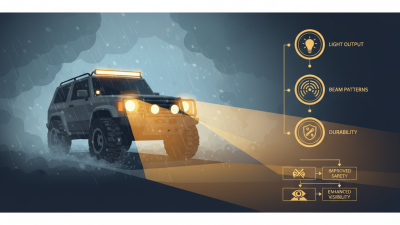
Choosing Amber Driving Lights is not simply a matter of selecting the brightest product. Brightness can look impressive in a driveway, yet perform poorly through dust, rain, or falling snow. The right light should improve visibility without creating distracting glare for other road users. Daniel Stern, a respected automotive lighting consultant, captures this principle well: “The best lighting is not necessarily the brightest; it is the lighting that serves its purpose.” That idea deserves attention.

This guide explores seven practical tips for making a more informed choice. You will consider beam pattern, color quality, mounting position, weather resistance, power demands, and long-term durability. A lamp with a wide amber beam may help reveal trail edges, while a focused beam can support distance viewing. The difference becomes obvious on a dark road with wet branches reflecting light back toward the windshield.

Small details matter.

Check the housing seal. Inspect the wiring. Think beyond appearance. A rugged aluminum body means little if the connector loosens after repeated vibration. Certification and local equipment requirements also deserve careful review before installation. Product claims are not always complete, and marketing photographs rarely show real nighttime performance. That is an uncomfortable truth.

There is no perfect Amber Driving Lights setup for every vehicle or environment. A touring driver, work-truck owner, and off-road enthusiast may need different beam shapes and mounting strategies. Use this guide as a practical starting point, then question each recommendation against your vehicle, route, and weather conditions. The best choice is usually balanced, tested, and slightly less dramatic than expected.
7 Tips for Choosing Amber Driving Lights

Define the Purpose and Driving Conditions for Amber Lights

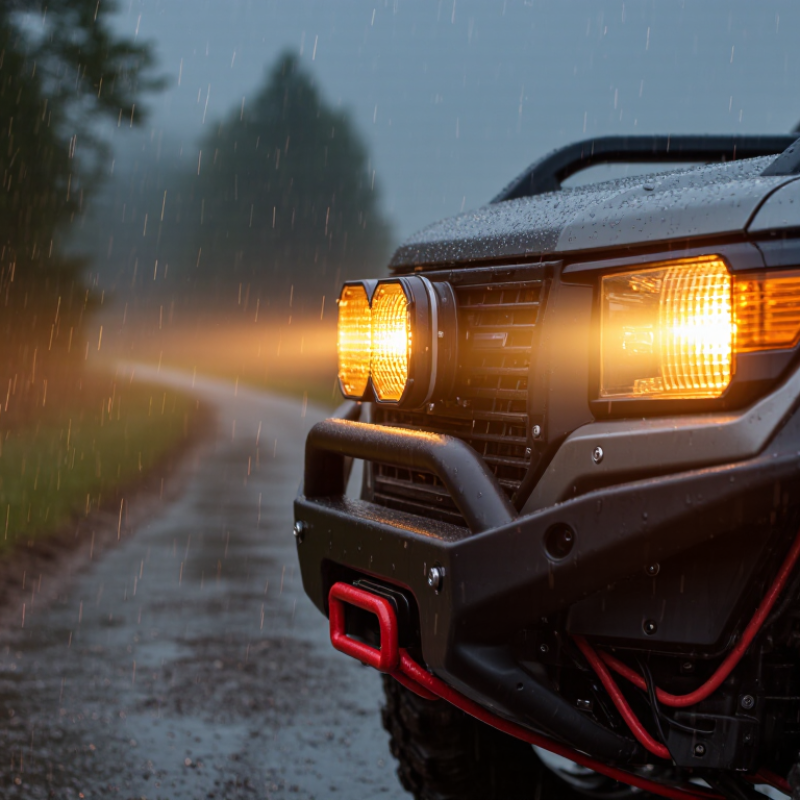
Choosing amber driving lights starts with a clear question: what problem should they solve? Amber light can improve vehicle visibility in dust, light fog, rain, or snow. It may also feel less harsh than white light in reflective conditions. However, it does not automatically provide longer viewing distance. Your experience on the road matters.

Tip 1: Define the main purpose.
Tip 2: Identify your usual driving surface.
Tip 3: Consider weather patterns.
Tip 4: Match brightness to the setting.
A narrow beam may help on open roads, while a wider beam can reveal edges, animals, or obstacles nearby. On a muddy trail, I have found that excessive brightness can reflect from wet surfaces and reduce useful detail. More light is not always better. Check local equipment rules before installation.

Tip 5: Choose a secure mounting position.
Tip 6: Keep the lenses clean.
Tip 7: Test the lights before difficult journeys.
Look for glare across the hood, loose brackets, or uneven illumination. Test them during a quiet evening, not during an emergency. I once focused too much on color and overlooked beam placement; that mistake made the lights less useful. Amber lighting should support your normal headlights, not replace careful speed control and attention.

7 Tips for Choosing Amber Driving Lights - Define the Purpose and Driving Conditions for Amber Lights

Tip Driving Purpose Recommended Conditions Preferred Light Type Key Selection Factor Practical Check
1. Define the main purpose Improve visibility in reduced-visibility environments or increase vehicle conspicuity. Fog, dust, snow, smoke, construction areas, off-road travel, or roadside work. A focused driving beam for forward illumination; a warning or marker lamp for conspicuity. Choose the beam pattern according to the task instead of selecting by color alone. Write down whether the light is primarily for seeing, being seen, or both.
2. Match the beam to the road Provide useful illumination without creating excessive glare or wasted spill. Use a wide beam for trails, bends, and work zones; use a narrower beam for longer straight sections. Wide or fog beam for near-field coverage; driving beam for forward reach. Beam width, cutoff control, and optical distribution are more important than advertised wattage. Check the beam on a dark, flat surface and confirm that it does not aim into oncoming traffic.
3. Consider weather and atmosphere Maintain contrast and reduce visual discomfort in airborne moisture, dust, or snow. Fog, mist, heavy rain, blowing dust, dusty roads, and snowy conditions. A low-mounted, well-controlled amber beam can be useful in conditions where reflected glare is a concern. Optical control and mounting height matter; amber color does not eliminate glare by itself. Test the light in the conditions where it will actually be used and keep the lens clean.
4. Check brightness and electrical load Deliver adequate illumination while protecting the vehicle’s wiring and charging system. Frequent night driving, extended off-road use, or vehicles with limited electrical capacity. Efficient LED units with a regulated driver and clearly stated operating current. Compare measured power draw, luminous output, thermal management, and beam quality. Confirm that the fuse, relay, cable size, connectors, and alternator capacity suit the load.
5. Select durable construction Maintain reliable performance under vibration, water exposure, dirt, and temperature changes. Off-road routes, gravel roads, winter driving, frequent washing, and exposed mounting locations. Aluminum housing, sealed connectors, impact-resistant lens, and a documented ingress rating. Look for a stated IP rating, corrosion-resistant hardware, vibration-resistant mounting, and thermal protection. Inspect seals, cable entries, brackets, and fasteners before and after demanding trips.
6. Plan the mounting position Place the light where it provides useful coverage without obstructing the vehicle or distracting other road users. Bumper, grille, roof, utility vehicle, trailer, or temporary work-light installation. Low mounting is commonly suitable for fog-oriented coverage; higher mounting may improve obstacle visibility off-road. Choose a stable location with adequate clearance, service access, and protection from impact. Verify aim, ground clearance, grille airflow, license-plate visibility, and pedestrian safety.
7. Verify legal and usage requirements Ensure the installation is permitted for the intended road, vehicle, and operating situation. Public roads, private property, emergency areas, work zones, and off-road trails may have different rules. Use road-approved equipment where required and reserve warning functions for authorized applications. Check local requirements for color, placement, flashing behavior, intensity, switching, and aiming. Review applicable vehicle and traffic regulations before installation; requirements vary by jurisdiction.

Note: Amber light performance depends on beam design, aiming, weather, mounting position, and local regulations. Amber lighting should not be treated as a substitute for safe speed, clean glass, or properly adjusted standard headlights.
Check Beam Pattern, Brightness, and Road Visibility

7 Tips for Choosing Amber Driving Lights

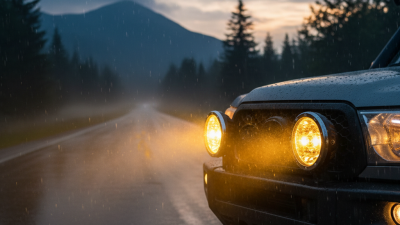
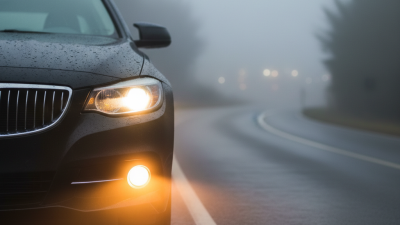
Amber driving lights should improve road visibility, not simply look brighter. NHTSA’s Traffic Safety Facts reports that roughly half of traffic deaths occur at night, although nighttime driving represents fewer miles. That makes beam control important. Check tip one: choose a focused beam with a clean horizontal cutoff. Tip two: compare usable lumens, not advertised peak lumens. Excess brightness can create glare.

Tip three: inspect the beam at 30 and 60 meters on a dark road. The center should reveal lane edges, signs, and roadside hazards without lighting the sky. Tip four: select a consistent amber color. SAE J578 provides color guidelines for vehicle lighting, but color alone cannot guarantee better visibility. Tip five: consider fog and rain. Amber may reduce visual discomfort for some drivers, yet it cannot overcome poor optics or dirty lenses.

Tip six: match the light to your driving position. A low, wide pattern can help on trails and winding roads, while a narrow pattern suits longer sightlines. Tip seven: test the lights after installation, then recheck them after vibration or suspension changes. AAA headlight research has shown that many systems fail to provide adequate forward illumination, even when they appear bright in a driveway. I once trusted brightness too much. That was a mistake. Measure the spread, check glare from the driver’s seat, and clean the lenses regularly. Two minutes can change the view.

7 Tips for Choosing Amber Driving Lights

Use these suggested evaluation weights to compare amber driving lights. Beam pattern, brightness, and road visibility receive the highest priority because they directly affect useful illumination and glare control.

The scores represent a practical 100-point checklist rather than laboratory measurements. Always confirm local lighting regulations, verify the beam pattern on the road, and compare brightness using the same measurement standard.

Choose the Correct Light Size and Vehicle Mounting Position

7 Tips for Choosing Amber Driving Lights

Measure the available space before choosing a light. A larger housing does not always produce better visibility. Match the lamp size to the vehicle’s grille, bumper, or roof rack. Leave room for wiring and heat dissipation. Measure twice. Choose a compact unit when the mounting surface is narrow. Oversized lights can vibrate, block airflow, or create distracting reflections on the hood.

Mount amber lights symmetrically whenever possible. Keep them high enough for clear visibility, but never where they obstruct the driver’s view. Roof-mounted lights can improve recognition in traffic, while bumper-mounted lights may perform better in dust or spray. Avoid placing lamps behind tinted covers or near hot exhaust components. Keep it symmetrical. During practical fit checks, a small alignment error can noticeably change the light’s apparent angle.

Use the vehicle’s width as your reference. The outer lamps should visually represent the vehicle’s edges without extending beyond them. Check the beam pattern from the driver’s seat and from 100 metres away. That distance exposes poor alignment quickly.

The Federal Highway Administration estimates that weather-related crashes represent about 21% of annual crashes, with roughly 5,700 deaths and 544,000 injuries. NHTSA’s 2022 Traffic Safety Facts also places about half of fatal crashes in non-daylight conditions.

These figures support careful positioning, not simply adding more brightness.

SAE J845 and J595 provide useful performance references, but local requirements still vary. My early fitting decisions focused too much on output and too little on reflection; that was a mistake.

Compare Weather Resistance, Wiring, and Power Requirements

7 Tips for Choosing Amber Driving Lights

Check the weather rating before admiring brightness. IEC 60529 defines IP67 as dust-tight protection and temporary immersion to one metre for 30 minutes. IP68 goes further, but the manufacturer must state the test depth and duration. Look for sealed connectors, molded cable exits, and drainage paths. Mud often enters through the wiring, not the lens. Confirm the housing also meets relevant vibration and moisture tests under SAE J575. Those tests matter on corrugated roads.

Calculate power before choosing a switch. Two 40-watt lamps draw about 5.8 amps at 13.8 volts. Add a practical 25% margin, and the circuit should support roughly 7.3 amps. Use a fuse near the battery, a relay rated above the expected load, and cable sized for its length. SAE J1128 recognizes different low-voltage cable constructions, so “automotive wire” is not a sufficient specification. Keep ground connections short, bright, and protected from spray. Test voltage at the lamp, not only at the battery.

Inspect the beam pattern at dusk. Amber light can improve contrast in dust or snowfall, yet more output is not always better. Follow the vehicle maker’s installation guidance and local road rules. I once focused too heavily on wattage and ignored connector strain relief. The lights worked, but the cable flexed sharply behind the grille. That mistake changed my checklist: weather sealing, wiring support, and measured current now come before advertised lumens.

Verify Legal Standards, Safety Features, and Product Reliability

7 Tips for Choosing Amber Driving Lights

Verify local legal standards before buying amber driving lights. Requirements differ for private vehicles, work zones, and emergency services. SAE J595 and SAE J845 describe performance practices, but they do not replace local approval. Check mounting height, flash patterns, visibility limits, and required markings with the relevant transport authority. Documentation matters.

Safety comes first. Choose a controlled beam that improves roadside visibility without creating glare for oncoming drivers. Confirm independent testing for electromagnetic compatibility, thermal protection, and stable flash timing. An IP67 rating, defined under IEC 60529, can help protect against dust and temporary water immersion. Inspect the wiring, fuse, connectors, and mounting brackets. Small failures become serious in rain.

Reliability needs evidence. Look for published test conditions, operating-temperature ranges, vibration results, and warranty terms. FHWA reported 891 work-zone deaths in the United States during 2022, showing why conspicuity deserves careful attention.

Seven practical checks help: verify legality confirm brightness inspect beam control check ingress protection assess wiring review test reports examine service support.

Do not trust brightness alone.

In field inspections, loose brackets and poor grounding often cause more trouble than weak LEDs. That assumption deserves reconsideration. A light can look impressive in a showroom yet perform poorly behind road spray, dust, or summer heat. Test it at night, from several angles, before relying on it.