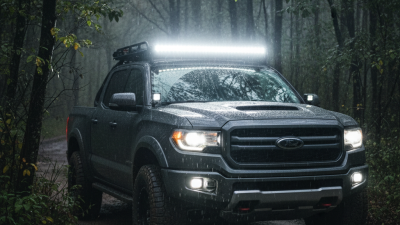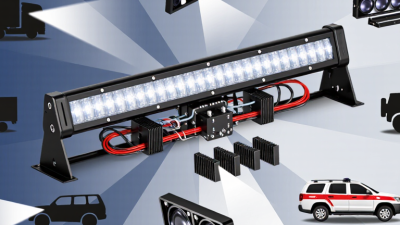
Choosing the right LED lightbar for your vehicle is not just a matter of picking the brightest model. The best fit depends on where you drive, how the bar will be mounted, and what your vehicle’s electrical system can support. A Led Lightbar Auto setup for a work truck may need a different beam pattern and mounting position than one used on a weekend off-road vehicle. Small details matter. A bar that blocks a camera, sits too close to the roof, or shines back from the hood can make night driving less comfortable.
Start with the job the lightbar needs to do. Spot beams project light farther ahead, while flood beams spread it across a wider area; combo patterns offer a balance. Check the product’s real-world specifications, including power draw, dimensions, weather resistance, and mounting hardware. Look for clear manufacturer documentation rather than relying on a single brightness claim. Compatibility is important. Confirm that the mounting surface is sturdy and that the wiring and controls suit the vehicle, following the manufacturer’s instructions or consulting a qualified installer when needed.
There is no perfect choice for every driver. Some product descriptions make selection sound simpler than it is. Road conditions, mounting height, and personal comfort can all change how a beam feels at night. It is worth checking applicable vehicle requirements before installation, too. With those factors in mind, this guide will help you compare lightbar types and features, avoid common fitment mistakes, and choose an option that suits your vehicle and intended use.
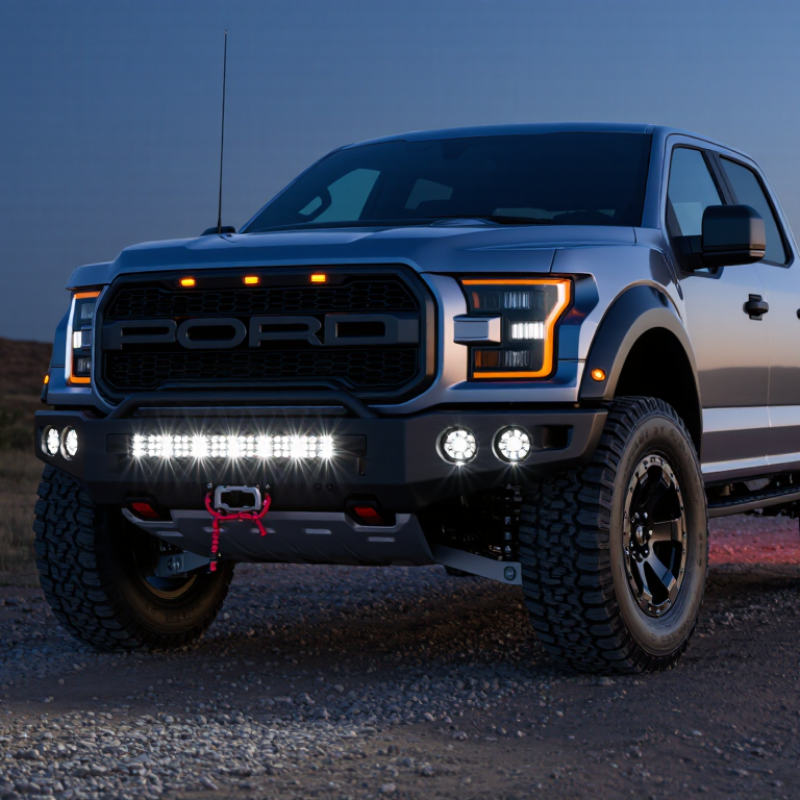
Before choosing an LED lightbar, define where and how you drive. A commuter on wet, unlit roads may value a broad beam that reveals the shoulders. Someone driving rural routes may need more distance to spot hazards ahead. Gravel, fog, and frequent nighttime work also change what “enough light” means. Check your vehicle’s available mounting space, electrical capacity, and the lightbar’s beam pattern before comparing brightness claims. More light is not always better; glare can make nearby details harder to see.
Tips: Write down three common driving conditions, such as dark highways, muddy access roads, or heavy rain. Note whether you need near-field spread, long-range visibility, or both. Then consider how the lightbar will be aimed and mounted, since a poorly positioned beam can reflect from the hood or disturb other drivers. Follow the vehicle and product installation guidance, and have the wiring checked if you are unsure. Small details matter.
Be honest about your routine. If most trips happen in town, a powerful bar may add cost without much practical benefit. If you often travel remote roads, durability and secure mounting deserve close attention. I once underestimated how much road spray could cover a low-mounted lamp; it was a useful reminder that specifications do not tell the whole story. Check visibility in realistic conditions, not just in a driveway.
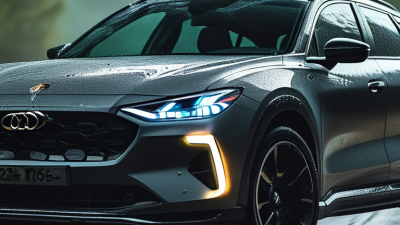
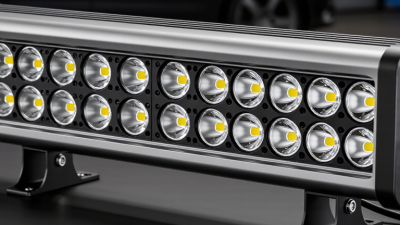
Choosing an LED lightbar starts with beam geometry, not the largest lumen number. Single-row bars suit narrow rooflines and moderate auxiliary lighting. Dual-row designs usually pack more emitters into the same length. They can produce higher peak output, but heat and glare increase. A compact work bar may use a flood pattern. A driving bar favors a longer, narrower spot pattern. Combo optics blend both, although the transition can look uneven. In field fitting, that uneven overlap often surprises owners.
Compare brightness in lumens and useful illumination in lux. Lumens describe total emitted light; lux describes light reaching a surface. At 30 meters, measure lux across the road, shoulder, and foreground. A bar claiming 20,000 lumens may waste output above the sightline. The U.S. Department of Energy’s 2023 Solid-State Lighting R&D Opportunities report cites laboratory LED efficacy above 200 lm/W. Real assemblies perform lower because optics, wiring, and thermal control consume capacity. That gap matters more than advertising language.
For open-road visibility, choose a controlled spot or combination pattern. For slow trails or job sites, a wide flood pattern reduces dark edges. Brightness should match mounting height, speed, and expected weather. NHTSA’s 2021 Traffic Safety Facts reports that 76% of pedestrian fatalities occurred in darkness. That supports better visibility, not indiscriminate intensity. Check the beam cutoff, aiming adjustment, ingress protection, and SAE environmental test documentation. A bright bar aimed too high creates glare and weakens contrast. I still see this mistake during practical fitting.
How to Choose the Right LED Lightbar for Your Auto?
Choosing an LED lightbar starts with the vehicle, not the brightest product. Measure the available mounting area before comparing models. A compact bar may suit a narrow roof, grille, or utility rack. A longer bar can spread light more evenly, but it may create wind noise and mounting stress. Shorter is not always weaker.
Mounting position affects durability and performance. Check the roof, bumper, or rack for solid support and enough clearance. The brackets should sit level, with no contact against painted panels or moving parts. On uneven surfaces, adjustable mounts can help, but they may loosen if poorly tightened. Follow the vehicle maker’s load limits and local lighting regulations. A neat installation can still be mechanically wrong.
Power matters. Read the lightbar’s voltage and current ratings, then size the fuse, relay, and wiring accordingly. Thin wires can overheat, especially during long night use. Leave a little capacity in the electrical system rather than operating at its limit. Water-resistant connectors and sealed cable entries also deserve attention. In real installations, small routing mistakes often cause bigger problems later. I sometimes prefer a slightly smaller bar after checking the battery and alternator capacity. That choice feels less impressive, but it is usually more dependable. Recheck every fastener after the first drive.
Match the lightbar size, mounting space, and electrical capacity before installation. The chart below uses common lightbar lengths with practical planning values for power and 12-volt current draw.
Longer lightbars generally provide a wider beam and require more mounting space and electrical capacity. Current draw is calculated from power at a nominal 13.8 V vehicle charging voltage: Current = Power ÷ 13.8. Confirm the actual wattage, mounting width, fuse size, relay rating, and vehicle clearance with the lightbar specifications before installation.
Choosing the right LED lightbar starts with durability, not advertised brightness.
NHTSA’s 2022 Traffic Safety Facts recorded 7,522 pedestrian deaths in the United States, with about 76% occurring in darkness. A reliable lightbar should produce a controlled beam, resist vibration, and maintain stable output after repeated temperature changes.
Look for an IP67 or higher rating, sealed connectors, corrosion-resistant housing, and test documentation based on IEC 60529 or automotive equivalent standards. IP67 means dust-tight protection and temporary water immersion under laboratory conditions. Real roads are less forgiving.
Safety certification matters.
Check whether the lamp carries recognized approval markings, such as SAE or E-mark requirements, where applicable. These marks do not automatically make every installation legal. Beam color, flashing patterns, mounting height, and road use can vary by state, province, or country.
Local transport authorities provide the final answer. A lightbar designed for off-road use may be unsuitable on public roads, even if its wiring and housing look professional.
Installation also affects safety.
Aim the beam away from oncoming drivers, secure the brackets against movement, and protect wiring from sharp metal edges. Fuse the circuit correctly. Small details matter.
In practice, many buyers overtrust lumen claims and ignore glare. That is a mistake worth reconsidering.
Before purchase, compare independent test data, warranty terms, operating-temperature limits, and replacement-part availability. A product can survive rain yet fail after one winter of road salt.
Choosing the right LED lightbar starts before opening the toolbox. Measure your vehicle’s roof, bumper, and available mounting points. A lightbar should fit securely without blocking sensors, vents, or the driver’s view. Check its power demand against the vehicle’s electrical system. Undersized wiring can create heat, flickering, or premature failure.
Plan the installation on paper first. Use corrosion-resistant brackets and tighten every fastener evenly. Position the lightbar high enough for a clear beam, but avoid exposing it to unnecessary branches or impact. Keep the wiring away from exhaust parts and sharp metal edges. Local lighting regulations may limit placement and use, so verify them before driving on public roads. My early installations were sometimes too optimistic about cable length. Leave extra slack, but secure it neatly.
Tips: Test the beam after installation, both at close range and from a distance. Adjust the angle to reduce glare and dark spots. Inspect mounts after the first few drives. Vibration can loosen hardware unexpectedly. Clean the lens with mild soap and a soft cloth. Avoid abrasive cleaners. Check connectors for moisture, especially after rain or washing. Replace damaged seals promptly. A maintenance log helps track cleaning, tightening, and electrical checks. Do not ignore small flickers; they often signal a loose connection.
| Planning Dimension | What to Check | Typical Data or Guideline | Practical Recommendation |
|---|---|---|---|
| Vehicle Use | Driving environment and purpose | Highway, rural roads, work areas, off-road routes, emergency visibility, or low-speed utility use | Choose the beam pattern and output for the main driving environment. A wide beam is useful for nearby areas, while a focused beam is better for long-distance visibility. |
| Lightbar Size | Available mounting width | Approximately 6–50 inches for common automotive applications | Measure the mounting surface before purchasing. Leave clearance for brackets, wiring, roof accessories, hatch movement, and vehicle overhang limits. |
| Beam Pattern | Illumination shape | Spot, flood, combination, or scene beam | Use a spot pattern for distance, a flood pattern for peripheral coverage, and a combination pattern when both long-range and near-field lighting are required. |
| Light Output | Usable illumination rather than advertised maximum lumens | Typical automotive lightbars may range from about 2,000 to more than 30,000 claimed lumens, depending on size and design | Compare measured or effective output when available. Higher claimed lumens do not automatically produce better road visibility because optics, glare, heat, and beam control also affect performance. |
| Color Temperature | LED light color | Approximately 5,000–6,500 K for many white LED lightbars | Neutral white light can provide clear contrast. Very cool light may create more glare or reflection in rain, dust, fog, or snow, so select the color temperature according to local conditions. |
| Electrical System | Voltage compatibility and current draw | Common systems use 12 V or 24 V DC. A 120 W lightbar draws about 10 A at 12 V before efficiency losses. | Confirm the vehicle voltage, alternator capacity, fuse rating, relay rating, and wire size. Calculate current with the formula: Current (A) = Power (W) ÷ Voltage (V). |
| Wiring and Protection | Electrical safety and routing | Use an appropriately rated fuse near the power source and protect wires from heat, sharp edges, water, and moving components. | Use a relay-controlled circuit for higher-power units. Secure wiring with automotive-grade loom and clips, and disconnect the battery according to the vehicle service procedure before installation. |
| Mounting Position | Roof, grille, bumper, or windshield area | Mounting height affects beam reach, glare, airflow, noise, and vulnerability to impact. | Use a rigid, level surface and install brackets symmetrically. Avoid blocking the radiator, sensors, cameras, license plate, airbags, or the driver’s field of view. |
| Beam Alignment | Vertical and horizontal aiming | The beam should illuminate the intended area without shining directly into the eyes of oncoming drivers. | Park on level ground, aim the lightbar straight ahead, and adjust the vertical angle after checking the beam at a safe distance. Follow local regulations for road use and auxiliary lighting. |
| Aerodynamics and Noise | Wind resistance and vibration | Roof-mounted units are exposed to higher airflow, vibration, water, and debris than grille-mounted units. | Use reinforced brackets and thread-locking hardware where appropriate. Check that the installation does not create excessive wind noise or interfere with roof racks and other accessories. |
| Weather Resistance | Ingress protection rating | IP65: water jets; IP66: powerful water jets; IP67: temporary immersion up to 1 m under defined test conditions | Select an enclosure rating suitable for the environment. An IP rating does not guarantee resistance to impacts, saltwater corrosion, chemical exposure, or pressure washing at close range. |
| Thermal Management | Heat dissipation from LEDs and drivers | Aluminum housings and heat sinks help transfer heat away from LED components. Excessive heat can reduce light output and service life. | Keep cooling surfaces clean and unobstructed. Do not install the unit against materials that trap heat, and investigate flickering or output reduction promptly. |
| Legal Compliance | Road-use lighting requirements | Rules may regulate color, brightness, mounting height, beam direction, flashing functions, and when auxiliary lamps may be used. | Check the laws in the vehicle’s operating region before installation. Off-road lighting may not be legal for use on public roads, even when it is properly installed. |
| Initial Inspection | Installation quality after the first drive | Vibration can loosen fasteners and expose wiring weaknesses during early use. | After the first trip and again after approximately 100–200 km, inspect bracket tightness, cable routing, fuse condition, connector security, and beam alignment. |
| Routine Cleaning | Lens, housing, and cooling fins | Dirt, mud, salt, and insects can reduce light transmission and restrict heat dissipation. | Clean with water, mild automotive soap, and a soft cloth. Avoid abrasive pads, harsh solvents, and directing high-pressure water at seals or connectors. |
| Periodic Maintenance | Fasteners, terminals, and seals | Inspect before demanding use and at regular service intervals, especially after off-road driving or winter exposure. | Look for corrosion, cracked lenses, moisture inside the housing, damaged insulation, loose grounds, and discolored connectors. Repair faults before continued operation. |
| Replacement Planning | Signs of failure | Common warning signs include flickering, partial LED failure, water ingress, severe corrosion, overheating, and repeated fuse operation. | Replace damaged components with parts that match the original voltage, current, connector, fuse, and mounting requirements. Do not bypass a repeatedly blown fuse. |