Choosing Led Off Road Lighting is not just a matter of buying the brightest bar. A beam that looks powerful in a showroom can leave dark gaps on a winding trail. Mounting height, beam pattern, wiring, and weather resistance all affect what you can see after sunset. Small details matter. So does the way you actually drive.
Lighting researcher John C. Bullough’s work offers a useful principle, paraphrased here rather than presented as a direct quotation: light should suit the task, not merely appear bright. That distinction guides these 10 tips. We’ll look at beam spread, color temperature, output claims, housing materials, and installation checks. For example, a wide flood beam can reveal rocks near the front tires, while a focused spot beam reaches farther down an open track. Neither is ideal everywhere. There is no perfect setup for every vehicle, and that is easy to forget when product photos show only clear, dry roads.
Reliable choices start with practical questions. Where will the lights sit? Will branches strike them? Can the alternator and wiring support the load? Check independent performance details when available, and treat vague brightness claims cautiously. Even careful research has limits; real terrain can surprise you. The goal is not to turn night into day. It is to see useful ground clearly, preserve dependable operation, and choose Led Off Road Lighting that fits your vehicle and routes.
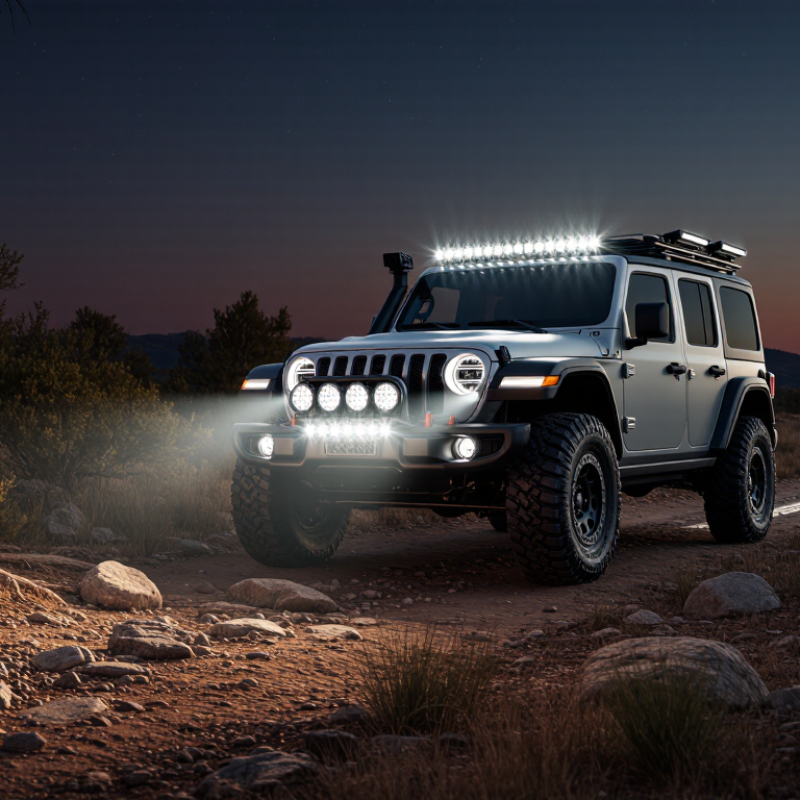
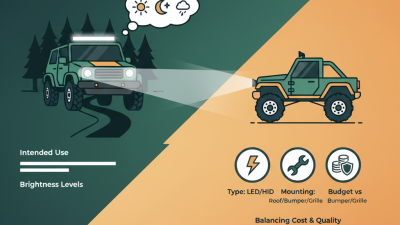
Before comparing LED off-road lights, define what your route actually demands. A wide, slow trail needs a different beam pattern from a fast gravel road. Note where you drive, how quickly you travel, and what you need to see: nearby rocks, distant bends, or both. Start with the route.
Think about conditions, not just darkness. Dust can scatter a bright beam and make visibility worse. Rain, snow, and low branches may also change where useful light needs to fall. On a wooded track, broad illumination can reveal obstacles near the wheels; open terrain may call for more reach. A balanced setup often works better than maximum brightness. More light is not always more useful.
Check how the lights will work with your vehicle’s existing headlights and mounting positions. Look for likely shadows from a bumper, rack, or spare tire, and consider whether glare could distract you or other drivers. I still find it easy to focus on advertised output and overlook beam placement. Sketching your usual route—or noting where visibility fails—can make the choice clearer. Conditions change, and a setup that suits dry summer trails may feel inadequate in winter.
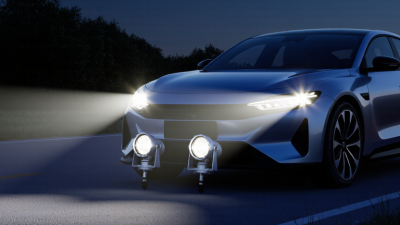
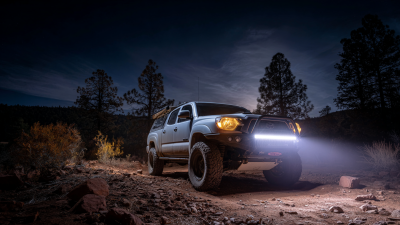
Beam pattern determines what you can see, not just how much light a lamp produces. A narrow spot reaches farther down a straight trail, while a flood beam spreads light across nearby ground and brush. A combo pattern can balance both, but its edges may not match every vehicle or mounting position. Check the beam against a wall before heading out. That matters.
Brightness figures can be useful, but raw lumen claims do not show where the light lands. Compare the beam shape and usable illumination, especially around rocks, ruts, and trail edges. Too much brightness can wash out nearby detail or create glare on dust and wet surfaces. More is not always better. If possible, test the setup after dark from the driver’s seat, not only while standing beside the vehicle.
Color temperature changes how light appears. Cooler white light can make distant objects look crisp, while warmer tones may feel less harsh in haze or dust; results depend on conditions and optics. Look for a Kelvin rating, then judge the actual beam in the terrain you drive. A small mismatch can be annoying: the center may look bright, yet the shoulders remain dim. Check that transition before choosing.
Off-road lights endure dust, stone spray, vibration, and sudden temperature changes. Check the complete IP rating, not just “waterproof” on a listing. Under IEC 60529, IP6X means dust-tight, while IPX7 testing involves temporary immersion in water up to one metre deep for 30 minutes. Useful data. But it is a laboratory test, not a promise against a pressure washer, damaged seals, or years of shaking on rough trails. Inspect lens joints, cable glands, and connector caps for gaps or brittle rubber.
SAE J575 outlines environmental tests for vehicle lighting, including vibration, moisture, dust, and corrosion. Look for product documentation that identifies relevant testing, rather than relying on vague durability claims. A sturdy aluminum housing helps, but mounting matters too: a loose bracket can fatigue wiring and crack a lens. Check the fasteners after early trips. Easy to miss.
Electrical fit deserves the same scrutiny. Confirm the light’s operating-voltage range against the vehicle’s system; nominal 12-volt systems can vary while charging. Check current draw, available alternator capacity, wire gauge, and fuse requirements. A relay and correctly sized fuse can protect the circuit, but poor grounding still causes dimming or flicker. Measure voltage at the light under load if possible. It is tempting to choose the brightest option, yet a smaller light with stable power and sealed connections may serve better on wet, bumpy tracks.
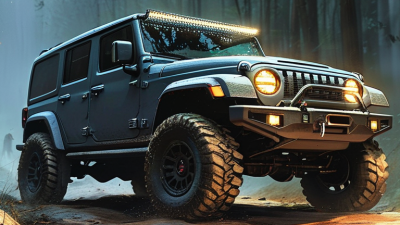
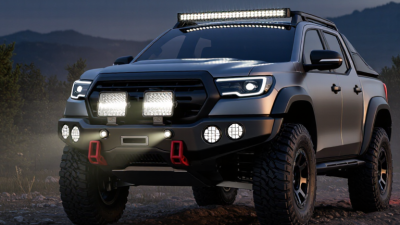
Mounting position changes how useful off-road lights feel on a real trail. A roof bar can spread light far ahead, but it may reflect off a dusty hood or create glare in fog. Bumper-mounted lights usually illuminate nearby ground and rocks more clearly. Check the bracket’s load rating, bolt access, and clearance before drilling. A loose mount can vibrate on corrugated roads and shift the beam toward oncoming traffic. Tighten fasteners after the first few drives.
Keep wiring away from hot engine parts and sharp edges. Leave enough slack for movement, but secure the cable so branches cannot snag it. Then check local lighting regulations before installation. Requirements may cover where auxiliary lamps can be mounted, when they may be used, and whether they need covers on public roads. Rules vary by location, so confirm details with your local transport authority or inspection service. Don’t rely on a forum post alone. I have seen people spend more time choosing a lamp than checking whether its mounting position is allowed. That is an easy mistake. After fitting, aim the lights on level ground, verify the beam pattern, and recheck the hardware after rough terrain.
| # | Tip | Mounting Option | What to Check | Practical Guidance |
|---|---|---|---|---|
| 1 | Match the beam pattern to the terrain | Choose a position suited to the lamp’s beam | Beam shape and intended use | Spot beams project light farther; flood beams illuminate a wider nearby area. A combination beam can serve mixed terrain. |
| 2 | Choose a secure mounting location | Bumper, grille, roof rack, or dedicated brackets | Bracket strength, fasteners, and vehicle load limits | Use a rigid mounting surface and hardware suited to the vehicle. Avoid locations that obstruct sensors, airflow, or required equipment. |
| 3 | Consider height and glare | Lower bumper mounts or higher roof mounts | Light reaching the road and visibility for other drivers | Higher mounting can help illuminate distant terrain but may create more reflection in dust, fog, or snow. Aim lamps carefully. |
| 4 | Check local lighting regulations | Any mount used on public roads | Permitted lamp colors, number, placement, covers, and use | Rules vary by jurisdiction. Confirm requirements with the relevant transport authority before using auxiliary lights on public roads. |
| 5 | Separate off-road use from road use | Install a dedicated switch and suitable wiring | Whether auxiliary lamps must be switched off or covered on public roads | Wire off-road lamps so they can be turned off independently. Do not assume a lamp legal for off-road use is approved for road use. |
| 6 | Check weather and impact protection | Protected bumper or grille location where practical | Ingress protection rating, lens material, and stated impact resistance | Look for product specifications suited to water, dust, vibration, and likely debris. A rating does not guarantee protection in every condition. |
| 7 | Plan the electrical installation | Mount near a protected wiring route | Current draw, wire gauge, fuse, relay, and circuit capacity | Follow the lamp manufacturer’s wiring instructions. Use a correctly rated fuse close to the power source and protect wires from heat and abrasion. |
| 8 | Account for vibration and adjustment | Rigid brackets with locking hardware | Fastener security and access for aiming | Recheck fasteners after initial use and periodically thereafter. Confirm that the lamps stay aimed after rough travel. |
| 9 | Consider serviceability and cleaning | Accessible bumper, grille, or rack mounts | Room to clean the lens and reach connectors | Choose a location that allows inspection and cleaning without unnecessary disassembly. Keep connectors away from likely water or impact exposure. |
| 10 | Test the completed setup | Final position after installation | Secure mounting, wiring operation, beam aim, and road-use compliance | Test the lights in a safe off-road area, verify the switch works, and recheck the installation. Use only permitted lighting on public roads. |
Choosing off-road LED lights is not just about brightness. Dust, vibration, rain, and repeated temperature changes can expose weak construction quickly. Inspect the housing, lens, seals, wiring, and mounting points before buying. A clean finish helps, but it does not prove durability. Ask for test documentation, and check whether the results match the conditions you expect to encounter. Specs matter.
Tips: Check the beam pattern against your driving needs. Look for secure brackets and strain-relieved wiring. Confirm voltage and power requirements. Ask how the light handles heat. Review the warranty period and exclusions. Check whether proof of purchase is required. Find out how claims are handled. Confirm replacement parts are available. Compare expected service life, not brightness alone. Calculate the full cost, including installation.
A longer warranty can be useful, but only when its terms are clear and support is accessible. Read the fine print before purchase, especially for coverage limits, labor, and shipping. Keep the receipt and product details. Compare similar lights using measurable specifications and realistic use conditions. One detail is easy to miss: a low purchase price may not include compatible wiring or sturdy mounts. Long-term value depends on reliable performance and repair options, not a promise on a box. I would still leave room for uncertainty; testing cannot perfectly reproduce every trail.