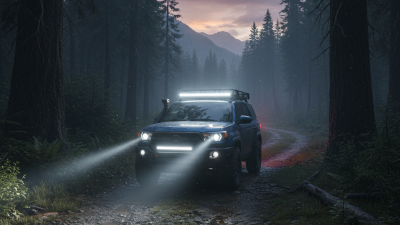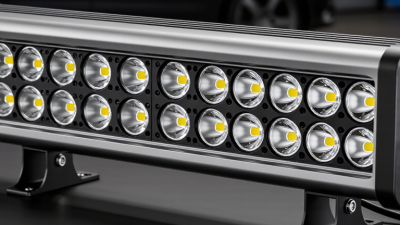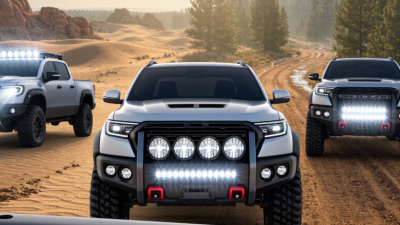
Choosing the right Led Light Bar is about more than picking the brightest option. The best fit depends on where you drive, what you need to see, and how the light will be mounted. A narrow beam can reach farther along a dark track, while a wider pattern can reveal objects near the vehicle. Neither is automatically better. It depends on the job.
Small details matter. Measure the available mounting space before ordering, and check whether the bracket suits your bumper, roof rack, or work vehicle. Compare power requirements with your vehicle’s electrical system, not just the advertised lumen figure. Real-world brightness can differ with beam design, lens quality, and installation angle. Look for clear specifications, warranty terms, and reliable product documentation. A confusing spec sheet is worth questioning.
Think about weather, vibration, and daily use, too. A sealed housing and sturdy mounts may matter more than a flashy finish. One common mismatch is choosing a long bar that blocks airflow or creates unwanted glare from the hood. It happens. Even careful research can miss a fitment detail, so review measurements and installation guidance before buying. If wiring or mounting is unfamiliar, ask a qualified installer to check the setup. These 10 tips will help you compare options carefully and choose a light bar that suits your actual needs, not just the product photos.
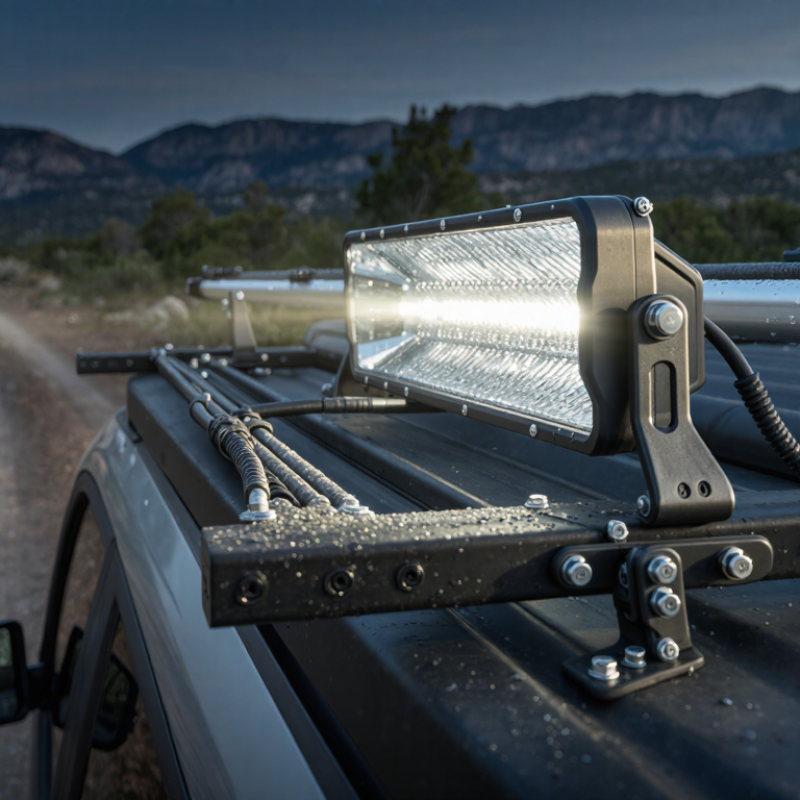
Before choosing an LED light bar, name the job it needs to do. A bar for a dusty worksite may need a broad, close-range beam, while an open-road setup may benefit from a longer reach. Think about when you use the vehicle, too: occasional night driving calls for different priorities than frequent work after dark. Be specific. “More light” is not a useful plan.
Then check the mounting location. Measure the available width and height, and note nearby equipment, roof racks, or a raised hood that could block the beam. A bar mounted high may illuminate farther, but it can also reflect off a dusty hood or create glare in fog. A lower position may suit close work better. Check the mount’s load capacity and consider vibration, water exposure, and access for cleaning. Small details matter.
I have found that a cardboard mock-up can reveal fit problems before hardware is installed. It is not a perfect test. Still, it helps show whether the bar will obstruct a camera, sit unevenly, or look oversized. Check the vehicle’s manual and the light’s installation instructions before drilling or routing wires. A neat location on paper may be awkward in practice.
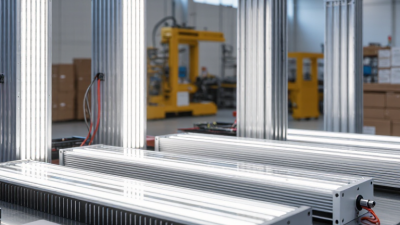
Brightness is more than a large lumen number. Check whether a figure describes raw LED output or measured light from the finished bar; the values can differ. A brighter bar may still leave dark patches if its beam is too narrow. Compare beam-distance data and think about your usual terrain. Numbers can mislead. A dusk test in a safe, controlled area can reveal glare and uneven coverage better than a quick look at a wall.
A spot beam throws light farther ahead, which helps on open trails or unlit roads. A flood beam spreads light across the sides, making nearby obstacles easier to see. Combo patterns balance both, but may not excel at either. Check how the beam sits on the ground: a bright hotspot with dim edges can be tiring. Mounting height and angle matter, too.
Color temperature affects how light appears, not how much usable light reaches the ground. Neutral white often makes rocks and branches look distinct, while cooler white can feel harsh in rain or mist. Warmer light may feel easier on the eyes, though results depend on the optics and conditions. I would not choose by Kelvin alone. Compare bars in similar weather, at the same distance, and allow your eyes time to adjust.
Before choosing a light bar, check its rated voltage and actual power draw. Divide watts by volts to estimate current: a 120-watt bar on a 12-volt system draws about 10 amps, before losses. Leave headroom, and size the fuse and wiring for the manufacturer’s specifications. Small details matter. A thin cable can cause voltage drop, dimming, or warm connectors. The U.S. Department of Energy’s 2022 Solid-State Lighting R&D Opportunities report examines advances in LED efficacy; however, greater efficiency does not tell you the complete bar’s real-world current draw. Check measured input power, not just a promotional lumen figure.
Compatibility goes beyond voltage. Confirm the bar’s connector, mounting space, and electrical system suit your vehicle or equipment. Check whether the charging system can support the added load alongside existing lights and accessories. A multimeter can help verify voltage at the connection point, especially with the engine running. Don’t guess. I once assumed a matching plug meant an easy fit; the mounting bracket still interfered with the grille.
Controls need equal care. Decide whether you need a simple dashboard switch, a relay, or a dimming controller, then confirm the light bar supports that control method. Keep wiring away from hot surfaces and moving parts, and follow the supplied installation instructions. Test the switch, fuse, and beam direction before regular use. One overlooked connection can spoil a careful installation.
Check power requirements, vehicle voltage compatibility, and control options before choosing a light bar. The chart compares calculated current draw for example power levels on 12 V and 24 V systems.
Current draw is calculated as electrical power divided by voltage (I = P ÷ V). Values are illustrative; check the light bar’s specifications and your vehicle’s electrical system before installation. Allow for wiring, fuse, and circuit capacity.
An LED light bar can look rugged on a product page, yet its housing tells only part of the story. Inspect the lens seal, end caps, cable entry, and mounting brackets for even gaps and solid finishes. Small details matter. After a dusty trail or a week of rain, loose hardware and cracked seals can let moisture reach electrical parts. Check the stated ingress-protection rating and its test conditions; it does not guarantee protection in every situation.
Weatherproofing should match where you drive. Road spray, standing water, salt, and fine dust stress equipment differently. Look for corrosion-resistant fasteners and a sealed connector, not just a water-resistant housing. Salt residue can hide around brackets. Rinse and inspect the bar periodically, especially after coastal trips. Even good coatings wear, and maintenance can be easy to overlook.
Check the electrical and vehicle safety standards that apply in your market, and look for documentation from a recognized testing body. Confirm voltage compatibility, fuse guidance, wire gauge, and secure mounting instructions before installation. A bar that flickers, overheats, or shifts under vibration can distract the driver or create a hazard. Some specifications are easy to misread. Compare test documents with the exact model, and consider your real conditions: frequent off-road vibration may call for stronger brackets than occasional gravel-road driving.
| # | Evaluation Area | What to Check | Practical Guidance | Why It Matters |
|---|---|---|---|---|
| 1 | Weatherproof rating | Look for an IP rating tested to IEC 60529, and check that it applies to the assembled light, including connectors and cable entries. | IP67 means dust-tight and protected against temporary immersion under specified test conditions, including up to 1 m for 30 minutes. IP68 immersion conditions are set by the manufacturer. | A clear, relevant rating is more useful than a vague “waterproof” claim. |
| 2 | Housing and lens durability | Check the housing material, lens material, mounting hardware, and availability of documented impact or vibration testing. | Look for a rigid housing and a lens designed for outdoor use. Treat “shockproof” as a claim unless the seller provides a test method or report. | Impacts and vibration can loosen mounts, crack lenses, or damage electrical connections. |
| 3 | Corrosion resistance | Inspect the finish, fasteners, brackets, and connector contacts; ask whether corrosion testing was performed and under what method. | For frequent exposure to road salt or coastal air, prefer corrosion-resistant hardware and a clearly described protective finish. | Corrosion can weaken brackets and interrupt electrical contact even when the light still works. |
| 4 | Thermal management | Check for a heat-dissipating housing, specified operating-temperature limits, and information about thermal protection. | Compare the stated temperature range with your expected conditions; do not assume that a larger housing alone guarantees longer life. | LEDs and their drivers generate heat, which can affect output and component life. |
| 5 | Beam pattern and output | Match the beam pattern to the task: spot for longer-range concentration, flood for wider nearby coverage, or combo for a mix. | Compare photometric data, such as candela or lux at a stated distance, and check whether lumen figures are measured output or theoretical LED output. | Beam shape and usable intensity determine what you can see; a higher lumen claim alone does not show beam quality. |
| 6 | Electrical compatibility | Verify the light’s rated voltage, current draw, polarity, connector type, and compatibility with the vehicle’s electrical system. | Use the manufacturer’s current specification to size wiring and protection. Electrical power in watts is approximately voltage multiplied by current in amps. | Incorrect wiring or undersized circuits can cause voltage drop, overheating, or electrical failure. |
| 7 | Safe installation | Check for suitable brackets, secure mounting points, installation instructions, and guidance on fuses, relays, and cable routing. | Mount the bar securely, protect wiring from heat and abrasion, and follow the vehicle and light manufacturer’s installation instructions. | A secure mount and correctly protected circuit reduce the risk of detachment, shorts, and fire. |
| 8 | Electrical noise and EMC | Ask whether electromagnetic compatibility has been tested and whether documentation identifies the applicable standard and test conditions. | Vehicle-lighting EMC requirements vary by market and application. UNECE Regulation No. 10 is one example of an automotive EMC regulation; verify local requirements. | Poorly controlled electrical noise may interfere with radios or other vehicle electronics. |
| 9 | Road-use compliance | Confirm whether the light is approved for your intended use, and check rules for mounting position, beam aim, switching, and use on public roads. | Requirements differ by jurisdiction. A product’s IP rating or EMC approval does not, by itself, establish that it is legal as a road-illuminating lamp. | Using an auxiliary light contrary to local rules can create glare and result in penalties. |
| 10 | Documentation and support | Review the installation manual, test documentation, warranty terms, replacement-part availability, and stated operating limits. | Prefer specific, verifiable specifications over unsupported claims such as “indestructible” or an unqualified lifetime estimate. | Clear documentation makes it easier to install, assess, and maintain the light safely. |
When comparing LED light bars, look beyond the purchase price. A low-cost unit can become expensive if its seals fail after repeated rain or vibration. Check the warranty length, what it covers, and whether labor or shipping is excluded. Read the exclusions closely. A “lifetime” promise may apply only to the housing, not the LEDs or wiring. Save the warranty terms before buying; policies can change.
Tip: Compare bars with similar output, beam patterns, and water-resistance ratings. A higher price is easier to justify when the specifications fit your actual driving conditions. Check how warranty claims work, too. Do you need proof of installation or photos of a fault? Small details matter.
For long-term value, estimate the cost over several years, including installation and possible replacement. Check power draw against your vehicle’s electrical system, and look for sturdy mounts that resist loosening on rough roads. A long warranty is useful, but it cannot guarantee hassle-free service. Estimates can miss things; vibration, dirt, and poor installation all affect lifespan. I might still favor a cheaper option for occasional use, though that choice deserves a second look.