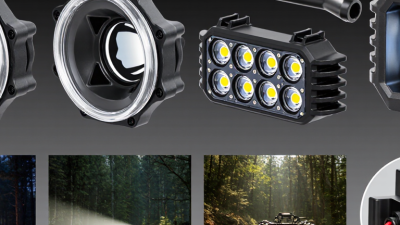
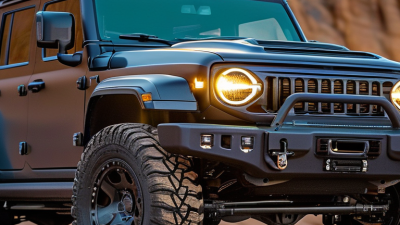
7 Best ATV LED Headlights for Every Budget
Choosing Atv Led Headlights is not just a brightness contest. A beam that looks impressive in a garage can leave dark patches on a muddy trail. The right set should fit your ATV, match its electrical system, and light the ground without creating needless glare. Small details matter. A sealed connector, sturdy bracket, and clear beam pattern can make a bigger difference than a bold wattage claim.
“Good ATV lighting should help riders read the trail, not just make the machine look brighter,” says Evan Brooks, an off-road lighting evaluator. That is a useful standard for comparing products, though real performance still depends on mounting height, terrain, and weather. A lamp that works well on a wide farm track may feel harsh on a narrow, wooded path. Testing claims deserve a close look.
This guide reviews seven options across a range of budgets, from practical upgrades to higher-output kits. We consider beam spread, build quality, installation demands, and value—not just advertised lumens. Check your model’s fitment before buying; universal brackets are not always universal in practice. And one honest caveat: price alone cannot predict durability. A lower-cost light may suit occasional evening rides, while frequent rough use can expose weak mounts or poor sealing. Choose for the trails you actually ride.
ATV LED Headlight Basics: Beam Patterns, Color Temperature, and Real-World Use
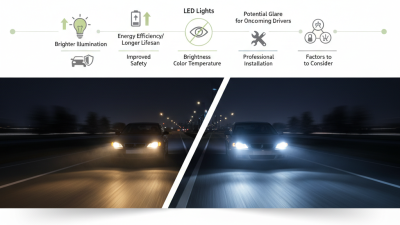
An ATV headlight’s beam pattern matters more than a big lumen number. A focused spot beam reaches farther along a dark trail, while a flood beam spreads light across nearby rocks and ruts. Combo beams blend both, but poor aim can still throw light into trees instead of onto the path. SAE J575 describes laboratory tests for vehicle lighting equipment, including vibration and moisture resistance—useful checks for lights exposed to mud and trail jolts. It does not guarantee a particular lamp will suit every ATV.
Color temperature changes how the scene looks. Around 5,000–6,000 kelvin appears cool white; warmer light can feel less harsh in dust or fog. Color alone does not prove brightness or beam quality. The U.S. Department of Energy’s solid-state lighting research tracks LED efficacy in lumens per watt, but that lab metric cannot tell you how evenly a headlight lights a winding trail. Real use is messier. I’ve found a wide, even beam often feels more helpful than a brighter-looking hotspot, though personal preference matters.
Tips:Park on level ground, then aim the beam low enough to avoid blinding oncoming riders. Check the housing seal and mounting brackets after a rough ride. If your usual route is tight and wooded, prioritize side coverage; for open fields, longer reach may matter more. A little glare remains hard to judge from the garage.
How SAE J575 Vibration Tests and IEC 60529 IP Ratings Measure Durability
SAE J575 vibration testing asks a lighting device to withstand controlled mechanical stress, rather than merely look sturdy on a workbench. The SAE standard specifies laboratory tests for vehicle lighting equipment, including vibration procedures. For an ATV headlight, that matters when washboard trails shake the housing and its mounting points. Watch for loose fasteners, cracked brackets, or flickering after testing. Small failures count.
IEC 60529 defines the familiar IP code for protection against dust and water. An IP6X rating means dust-tight under the standard’s test conditions; an IPX7 rating covers temporary immersion in water, typically up to one meter for 30 minutes. These ratings describe specific tests, not every muddy ride or pressure-washer spray. Conditions matter. A rating should be backed by a test report, not just printed on a package.
Compare the claims carefully. SAE J575 vibration results and IEC 60529 ingress ratings measure different kinds of durability, so one cannot replace the other. Ask whether testing covered the complete assembled lamp, including its lens, seals, wiring entry, and mounting hardware. Then inspect those areas after installation. A standards-compliant unit can still be fitted poorly. And real trails are messy; laboratory results are useful, but not the whole story.
Seven ATV LED Headlights Compared Across Budget, Midrange, and Premium Tiers
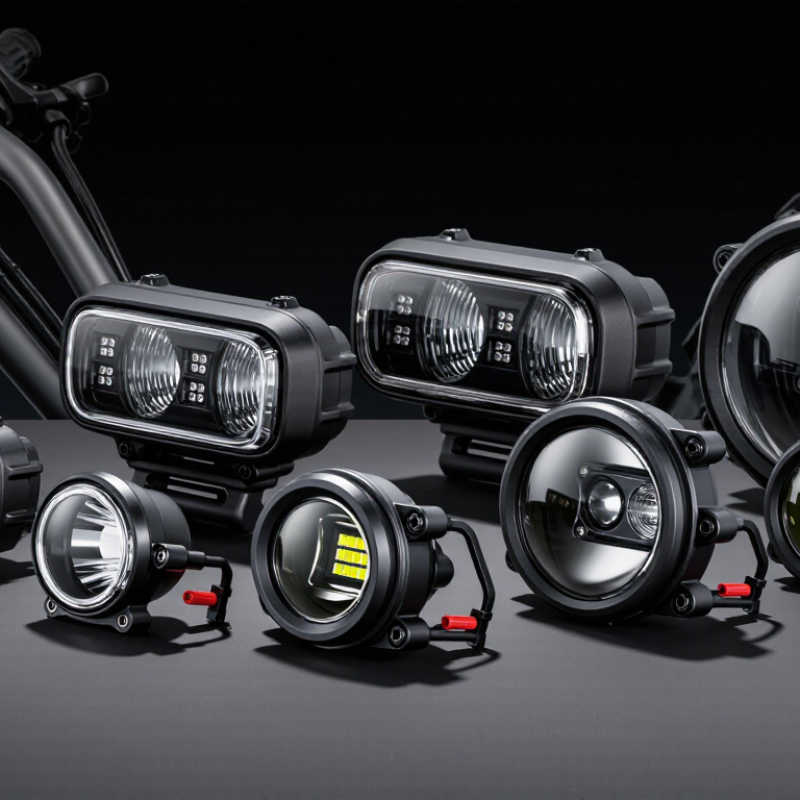
Seven ATV LED headlights make more sense when compared by use, not advertised brightness alone. In the budget tier, two compact options suit occasional trail rides, but check mounting fit, wiring, and whether the beam leaves dark patches near the front tires. A basic light can work. It may disappoint in dust or rain. The midrange tier covers three choices, typically balancing wider beam spread, sturdier housings, and manageable power draw. Look for clear specifications and a documented vibration test; ATV lights face repeated jolts that showroom brightness figures cannot describe.
The premium tier includes two options for frequent night riding, where controlled beam shape and heat management matter as much as raw output. The U.S. Department of Energy’s 2022 report, Solid-State Lighting R&D Opportunities, describes LED technology’s potential for high energy efficiency, but that does not guarantee a particular ATV lamp performs well. Lumens measure total light, not how usefully it reaches the trail. Check beam photos, operating voltage, and manufacturer test details before comparing prices. SAE J575 outlines environmental tests for vehicle lighting equipment, including vibration and moisture exposure; ask whether a light was tested to a stated procedure. A small flaw in the comparison: published tests rarely reproduce every trail, tire setup, or mounting angle. Use the ratings as a shortlist, then verify fit and aim on your own machine.
7 Best ATV LED Headlights for Every Budget
A budget-to-premium comparison of representative ATV LED headlight price points.
Prices are illustrative USD examples for generic headlight options, not current quotes for specific products. Actual prices vary by fitment, features, and seller.
How to Match Headlight Output, Power Draw, and Fit to Your ATV
A bright beam is useful only when it suits the trail and your ATV’s electrical system. Compare usable light output, not just advertised numbers. A wide beam can reveal rocks beside a narrow track, while a focused beam may help you see farther on open ground. Check the beam pattern in a safe, familiar area before relying on it after dark. Glare matters, too. More light is not always better.
Next, match power draw to the ATV’s charging capacity. Check the headlight’s wattage and current requirements against the owner’s manual or a qualified technician’s guidance. If the lights dim at idle or other electrical accessories behave oddly, the added load may be too high. That is a clue, not a diagnosis. Wiring condition and battery health can also affect performance. A neat installation does not guarantee enough electrical capacity.
Fit is just as practical. Measure the existing opening, note the mounting points, and check clearance around the handlebars, grille, and suspension. Confirm whether the headlight uses compatible connectors, or whether careful wiring changes are needed. Even a small mismatch can leave a lamp loose or aimed at the ground. Before buying, compare dimensions and installation requirements with your ATV’s exact model and year. I have found that measuring twice saves time, though it still cannot reveal every awkward bracket until the old light comes off.
Installation and Road-Use Checks: Wiring, Aim, and DOT/SAE Compliance
Before fitting an ATV LED headlight, inspect the wiring diagram and compare the connector, voltage, and fuse rating with the machine’s specifications. Disconnect the battery’s negative terminal. Keep wires clear of hot engine parts, sharp frame edges, and suspension movement. A small tug test can reveal a loose crimp before vibration does. Not glamorous, but useful.
After installation, test high and low beams, then check for flicker while gently moving the harness. Aim the ATV on level ground, facing a wall several metres away; adjust the beam so it does not shine into a seated driver’s eyes. Recheck after tightening the mounts, since brackets can shift. I have found that a beam that looks fine in the garage may feel harsh on a dark trail, so make small adjustments and test again.
For any public-road use, inspect the lamp and its documentation for applicable DOT or SAE markings, and confirm that the complete setup meets local requirements. A marking alone does not prove that a particular ATV installation is compliant. Check beam pattern, colour, mounting height, and whether the original equipment must remain in place. When the paperwork is unclear, ask a qualified inspection professional before riding on public roads.